Code Anywhere: Setting Up Claude Code on a VPS with Mobile Access
Ever seen someone coding at a cafe from their phone and wondered how? Here's the exact setup to run Claude Code (and OpenAI Codex) on a remote server and access it from your phone, tablet, or any device with an internet connection.
Inspired by levelsio's tweet about coding on his phone via Termius + Claude Code while out and about.
What You'll Need
- A DigitalOcean account (or any VPS provider — Hetzner, Vultr, etc.)
- A phone with Termius installed (iOS/Android)
- 10 minutes
Step 1: Generate an SSH Key
On your local machine (Mac/Linux):
It'll ask for a passphrase — set one for security or leave empty for convenience.
This creates two files: - ~/.ssh/id_ed25519_claude_vps — your private key (never share this) - ~/.ssh/id_ed25519_claude_vps.pub — your public key (this goes on the server)
Copy the public key to your clipboard:
# macOS
cat ~/.ssh/id_ed25519_claude_vps.pub | pbcopy

# Linux
cat ~/.ssh/id_ed25519_claude_vps.pub | xclip -selection clipboard
Gotcha: The public key starts with
ssh-ed25519 AAAA.... The private key starts with-----BEGIN OPENSSH PRIVATE KEY-----. Know the difference — you'll need both at different steps.
Step 2: Create a DigitalOcean Droplet
- Go to cloud.digitalocean.com → Create → Droplets
- Region: Pick the closest to you (lower latency = snappier terminal)
- Image: Ubuntu 24.04 LTS
- Size: Basic → Regular → $6/mo (1 vCPU, 1GB RAM)
- Authentication: Select SSH Key → paste your public key (the one you copied with
pbcopy) - Hostname:
claude-dev(or whatever you like) - Hit Create Droplet
Note down the IP address once it's ready (e.g., 134.209.42.100).
Why not AWS? A simple VPS has predictable billing ($6/mo flat), no surprise charges, and zero config overhead. AWS EC2 makes sense if you're already in that ecosystem, but for "SSH in and code" it's overkill.
Step 3: Set Up SSH Config (Saves Time Later)
Add this to ~/.ssh/config on your local machine:
Note: We're using
rootfor now to set up the server. You'll change this to a non-root user in Step 5.
Now you can connect with just:
Gotcha: If you get
SSH refuses to use a private key that other users can read.UNPROTECTED PRIVATE KEY FILEerror, fix permissions:Gotcha: Use the private key (without
.pub) in your SSH command and config. The.pubfile is only for pasting into servers/services. If you use the.pubfile withssh -i, you'll get aPermission deniederror.
Step 4: Install Everything on the Server
SSH into your droplet and run this setup script:
Then paste:
#!/bin/bash
set -e

# Install Node.js 22
curl -fsSL https://deb.nodesource.com/setup_22.x | sudo bash -
sudo apt install -y nodejs

# Install Claude Code
sudo npm install -g @anthropic-ai/claude-code

# Install OpenAI Codex (optional)
sudo npm install -g @openai/codex

# Install tmux for persistent sessions
sudo apt install -y tmux

echo "Done! Run: tmux new -s claude && claude"
Or save it as a script and SCP it over:
Step 5: Create a Non-Root User
Claude Code refuses to run as root for security reasons. You need to create a regular user:
ssh claude-dev

# Create a new user called "claude" with no password prompt
adduser claude --disabled-password --gecos ""

# Give the user sudo privileges (for installing packages later)
usermod -aG sudo claude

# Allow passwordless sudo (needed since we didn't set a password)
echo "claude ALL=(ALL) NOPASSWD: ALL" >> /etc/sudoers.d/claude
chmod 440 /etc/sudoers.d/claude

# Copy root's SSH keys so you can SSH in as this new user
cp -r ~/.ssh /home/claude/.ssh

# Fix ownership — copied files are owned by root, change to claude
chown -R claude:claude /home/claude/.ssh
Now update your local ~/.ssh/config to use the new user:
Test it:
You should now be logged in as claude instead of root.
Gotcha: If you skip this step and try to run Claude Code as root, you'll get:
--dangerously-skip-permissions cannot be used with root/sudo privileges for security reasons. Don't try to force it — just create a regular user.
Step 6: Add Swap (Prevent Crashes on 1GB Droplet)
The $6 droplet only has 1GB RAM. Adding swap prevents out-of-memory crashes:
ssh claude-dev "sudo fallocate -l 2G /swapfile && sudo chmod 600 /swapfile && sudo mkswap /swapfile && sudo swapon /swapfile && echo '/swapfile none swap sw 0 0' | sudo tee -a /etc/fstab"
This gives you 2GB of virtual memory. Not as fast as real RAM but keeps things stable.
Step 7: Set Up Termius on Your Phone (Code From Anywhere)
- Download Termius from App Store / Play Store
- Go to Keychain → Keys → tap + → Import
- Paste your private key (the one starting with
-----BEGIN OPENSSH PRIVATE KEY-----)
To get it on your phone, on your Mac run:
Then AirDrop the text, or copy-paste via a secure method.Gotcha: Do NOT paste the public key here. Termius needs the private key. If you see
ssh-ed25519 AAAA...that's the wrong one. You need-----BEGIN OPENSSH PRIVATE KEY-----.
- Go to Hosts → tap +:
- Label:
claude-dev - Hostname:
<your-droplet-ip> - Username:
claude - Key: Select the key you just imported
- Save → tap the host to connect
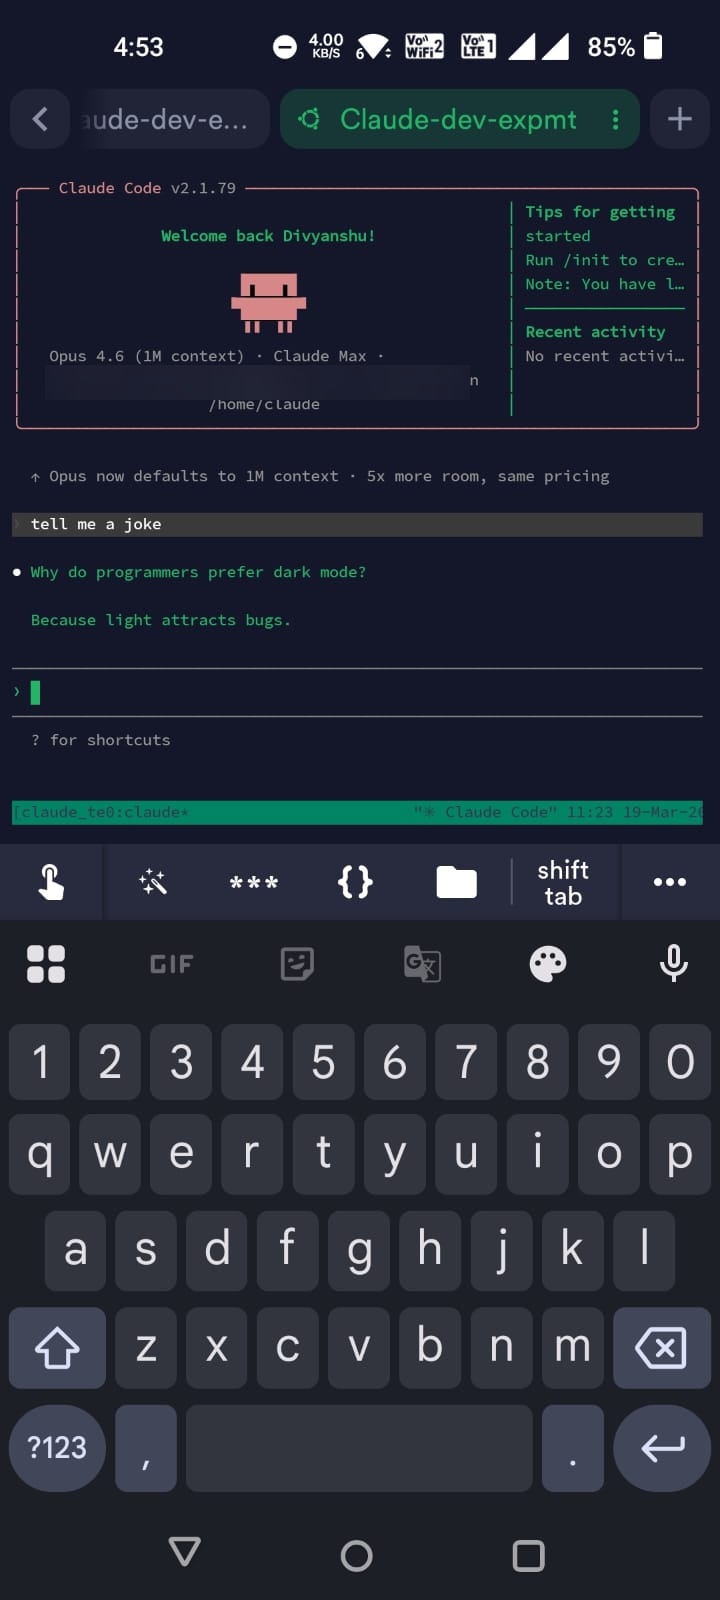
Step 8: Start Coding with tmux
tmux keeps your session alive even when you disconnect (phone loses signal, close the app, etc.).
When you disconnect and come back:
Your session is exactly where you left it.
tmux essentials: | Action | Keys | |---|---| | Detach (leave session running) | Ctrl+B then D | | Reattach | tmux attach -t claude | | New window | Ctrl+B then C | | Switch windows | Ctrl+B then 0-9 | | Scroll up | Ctrl+B then [ (press q to exit scroll) |
Step 9 (Optional): Lock Down SSH with Tailscale
Right now your server's SSH port (22) is open to the entire internet. Anyone can try to connect to your IP on port 22. You're protected by SSH keys, so it's hard to break in — but the port is still visible and exposed to brute-force attempts.
Tailscale creates a private VPN mesh between your devices. Once set up, your server gets a private IP (like 100.x.x.x) that only your devices can reach. You can then close port 22 on the public firewall entirely — no one on the internet can even see your SSH port.
Think of it like this:
- Without Tailscale: Your server's front door is on a public street. It's locked (SSH keys), but anyone can walk up and try the handle.
- With Tailscale: Your server's front door is inside a private building that only your devices have a keycard to enter.
On your server:
# Install Tailscale
curl -fsSL https://tailscale.com/install.sh | sh

# Start and authenticate — it'll print a URL, open it in your browser
sudo tailscale up

# Note your server's Tailscale IP
tailscale ip -4
# e.g., 100.92.45.13
On your Mac:
Install the Tailscale app from the Mac App Store (search "Tailscale"). Sign in with the same account.
On your phone:
Install the Tailscale app from App Store / Play Store. Sign in with the same account.
Update your SSH config:
Replace the public IP with your server's Tailscale IP:
Also update the Hostname in your Termius host to the Tailscale IP.
Block public SSH access (optional):
Once everything works through Tailscale, lock down the firewall:
- Go to DigitalOcean → Networking → Firewalls → Create Firewall
- Name:
claude-dev-firewall - Inbound Rules: Delete the default SSH rule, then add:
- Type: Custom, Protocol: TCP, Port range: All Ports, Sources:
100.64.0.0/10(Tailscale IP range) - Outbound Rules: Leave defaults (allow all)
- Apply to Droplets: Select
claude-dev - Create Firewall
Now only your Tailscale devices can reach the server. If you ever get locked out, just remove the firewall from the DigitalOcean dashboard.
Security Tips
- Never share your private key. If you emailed it to yourself to get it on your phone, delete that email.
- Disable password auth on your server (it's off by default on DigitalOcean if you chose SSH key auth).
- Consider Mosh instead of SSH for mobile — it handles flaky connections and network switches (Wi-Fi to 5G) much better than SSH.
Cost
| Item | Cost |
|---|---|
| DigitalOcean droplet | $6-12/mo |
| Termius | Free tier works fine |
| Claude Code | Pay per API usage |
| Coding at a cafe while your friends wonder what you're doing | Priceless |
That's it. You now have a cloud dev environment accessible from any device. Start a tmux session, fire up Claude Code, and code from anywhere.